Design Tips
Get Your Project Ready for Printing
A few simple setup rules make the difference between a good print and a great one. Here’s what you need to know before sending your files.
What Is Bleed?
Bleed is a small extra area of your design that extends past the final cut line. When the printer trims your piece to the finished size, that extra margin is cut away. Without it, tiny variations in cutting can leave thin white edges or chop off important artwork.
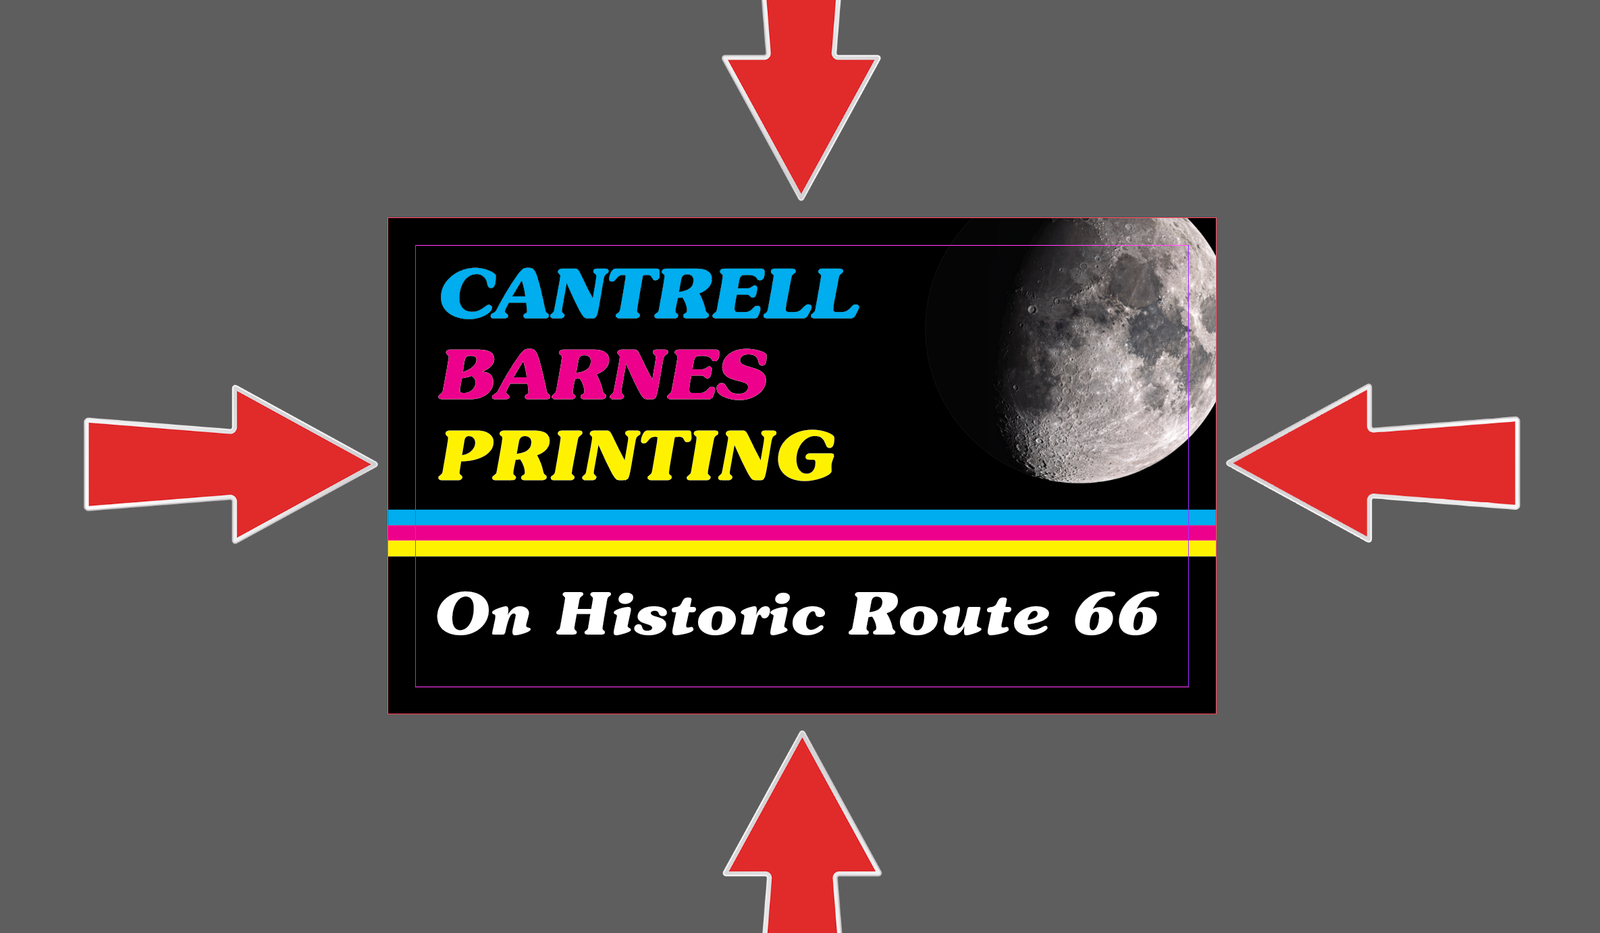
We ask for 0.125″ (⅛ inch) of bleed on every side of your file. That means your background colors, photos, or patterns should continue ⅛″ beyond where the finished piece will end.
See the Difference
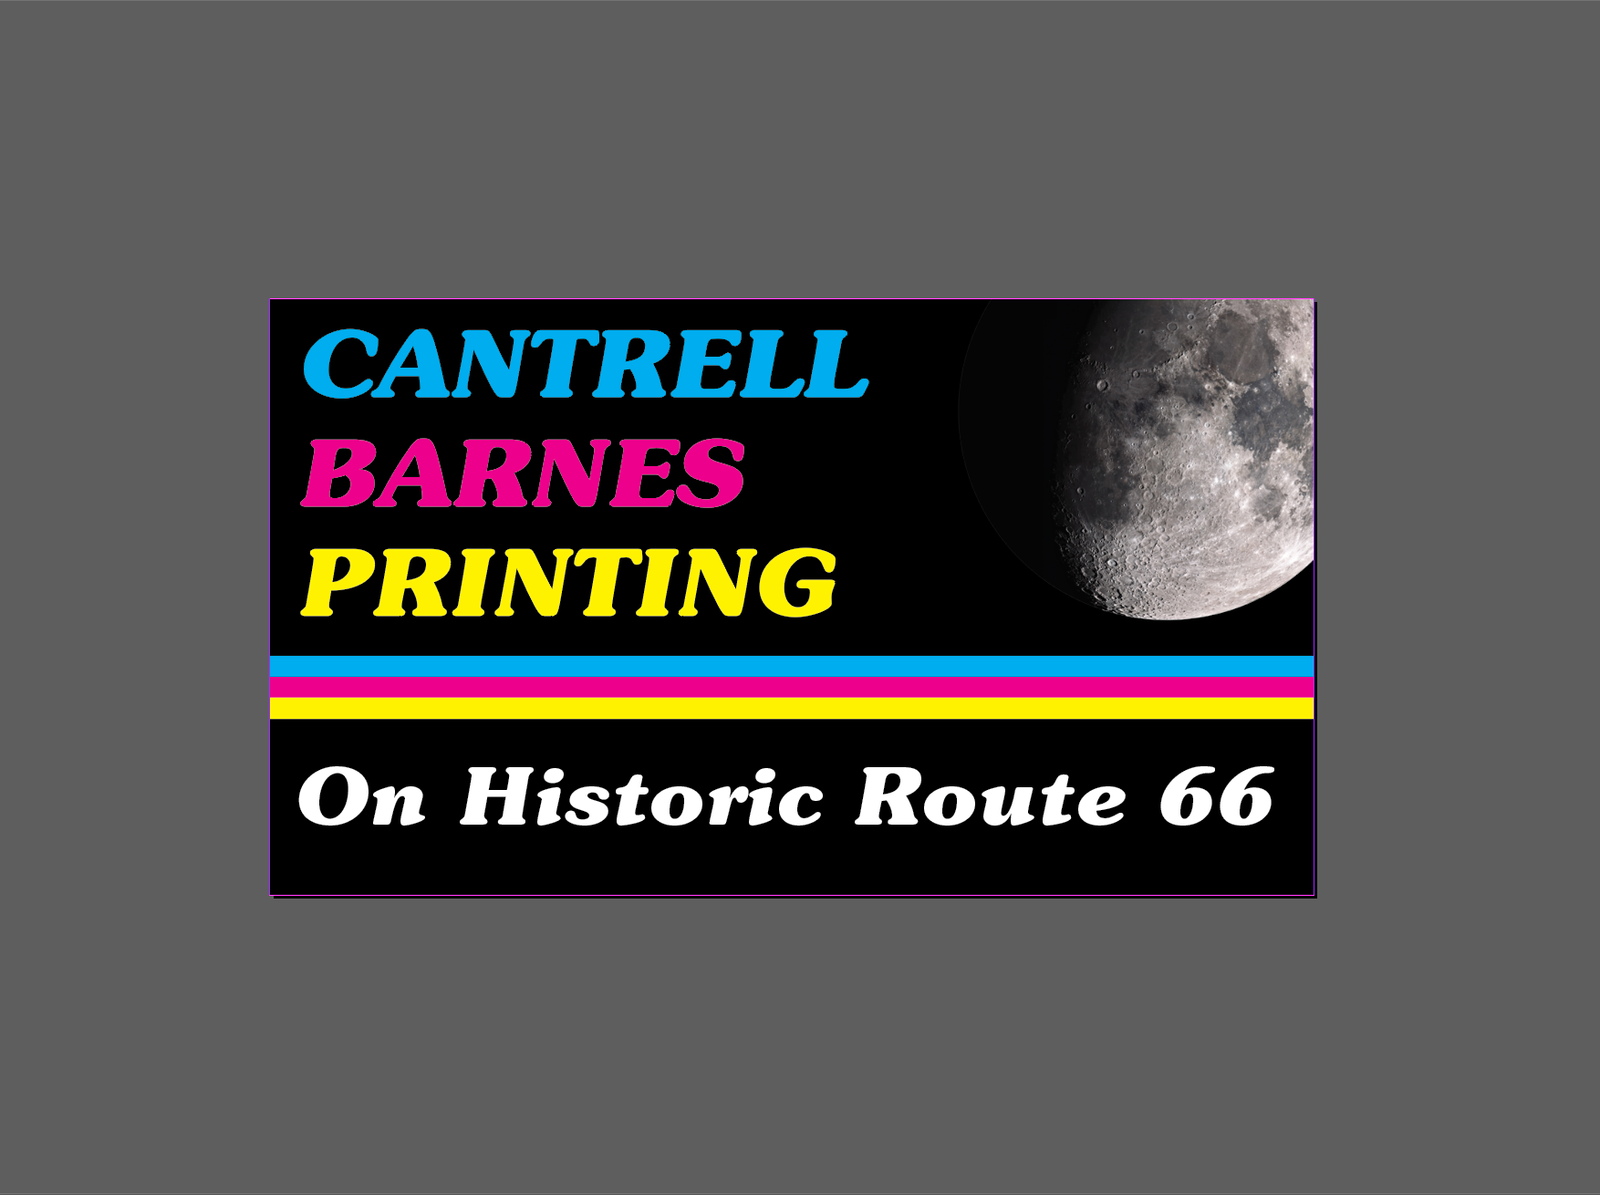
The examples below show a business card with proper bleed versus one set up only to the final size.
How to Set Up Bleed in Your File
Most design programs make this easy. The goal is the same in every app:
- Create your document at the final (trim) size.
- Add 0.125″ bleed on all four sides.
- Extend any background colors, images, or patterns into that bleed area.
- Keep important text, logos, and critical details at least 0.125″ inside the trim line (the “safe zone”).
Quick reference by program
- Adobe InDesign / Illustrator: Document Setup → set Bleed to 0.125 in on all sides. Export PDF with “Use Document Bleed Settings.”
- Photoshop: Add 0.25″ total to width and height (0.125″ per side), then place guides 0.125″ in from each edge for the trim.
- Canva / Affinity / other tools: Look for “Bleed” or “Print settings” and enter 0.125″ (or 3.2 mm). Export with bleed included.
When in doubt, send us a PDF and note the finished size. We’re happy to check the setup before printing.
Other Helpful Tips
Resolution
For crisp results, images should be at least 300 dpi at the size they will print. Lower-resolution web images often look soft or pixelated on paper.
Color
We print in CMYK. If your file is in RGB (common for screens), we convert it carefully, but converting early in your design process gives you the most predictable color.
Fonts & Outlines
Convert text to outlines (or embed fonts) so nothing shifts when we open the file. Avoid placing critical text closer than 0.125″ to the trim edge.
File formats we prefer
High-resolution PDF is ideal. We can also work with native Adobe files, high-res TIFF/JPEG, and properly prepared Canva exports. Let us know if you need help packaging files.
Ready to send your files?
Start a project or reach out—we’ll review your artwork and keep everything on track.